Easy Vegan Butterfingers
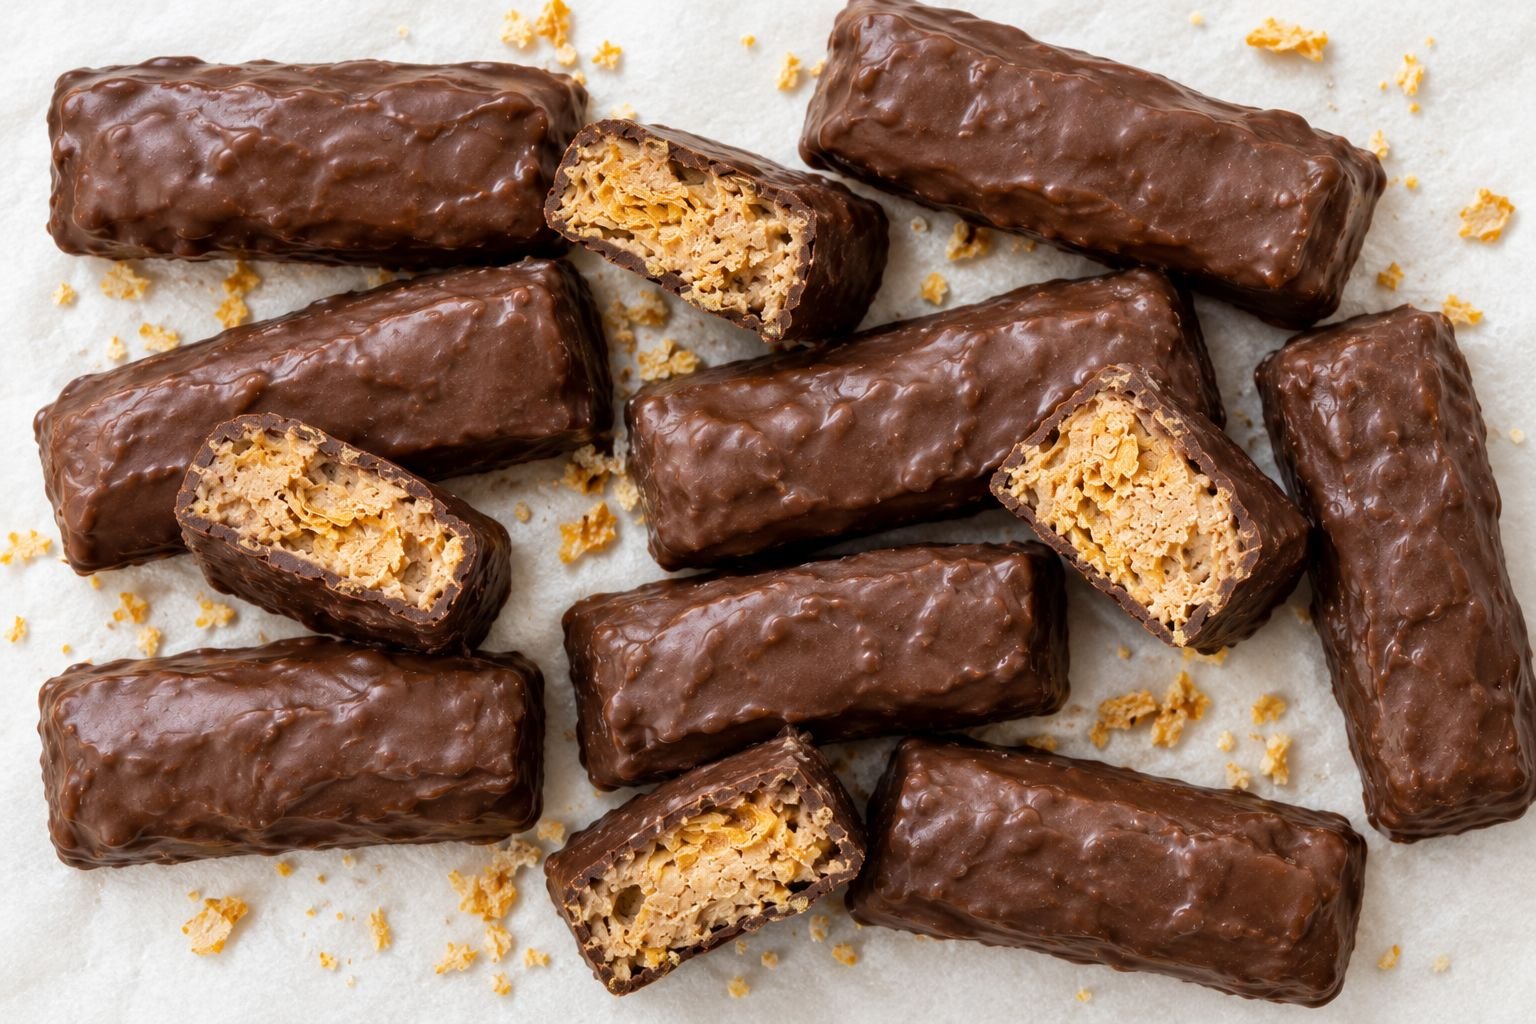
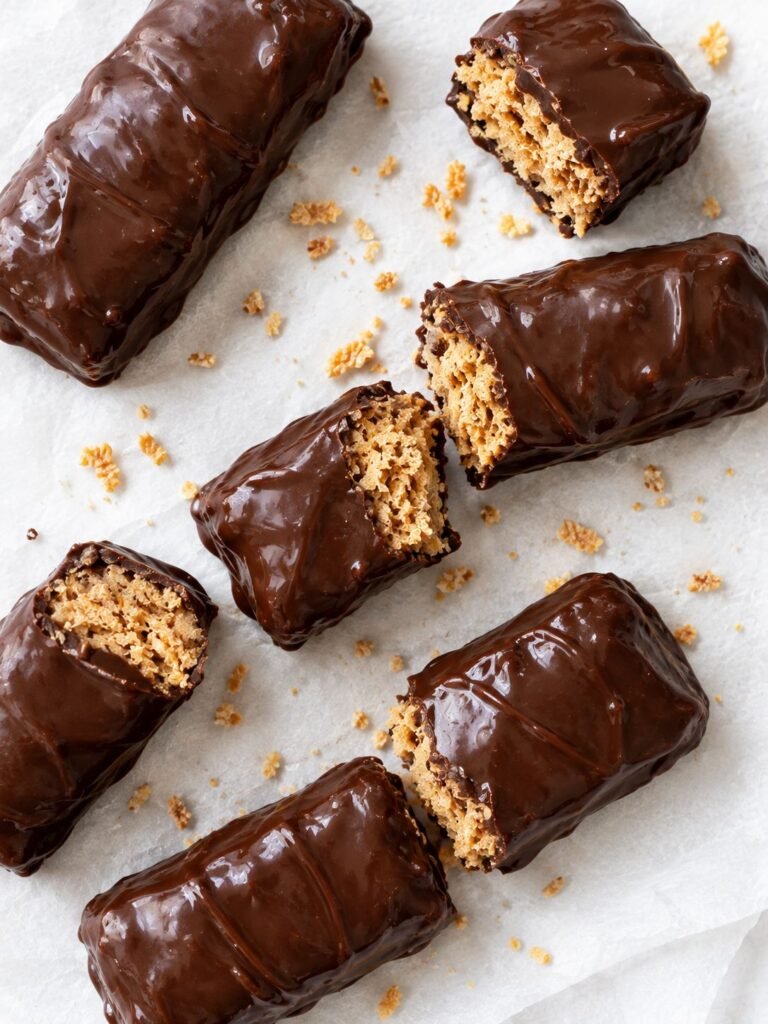
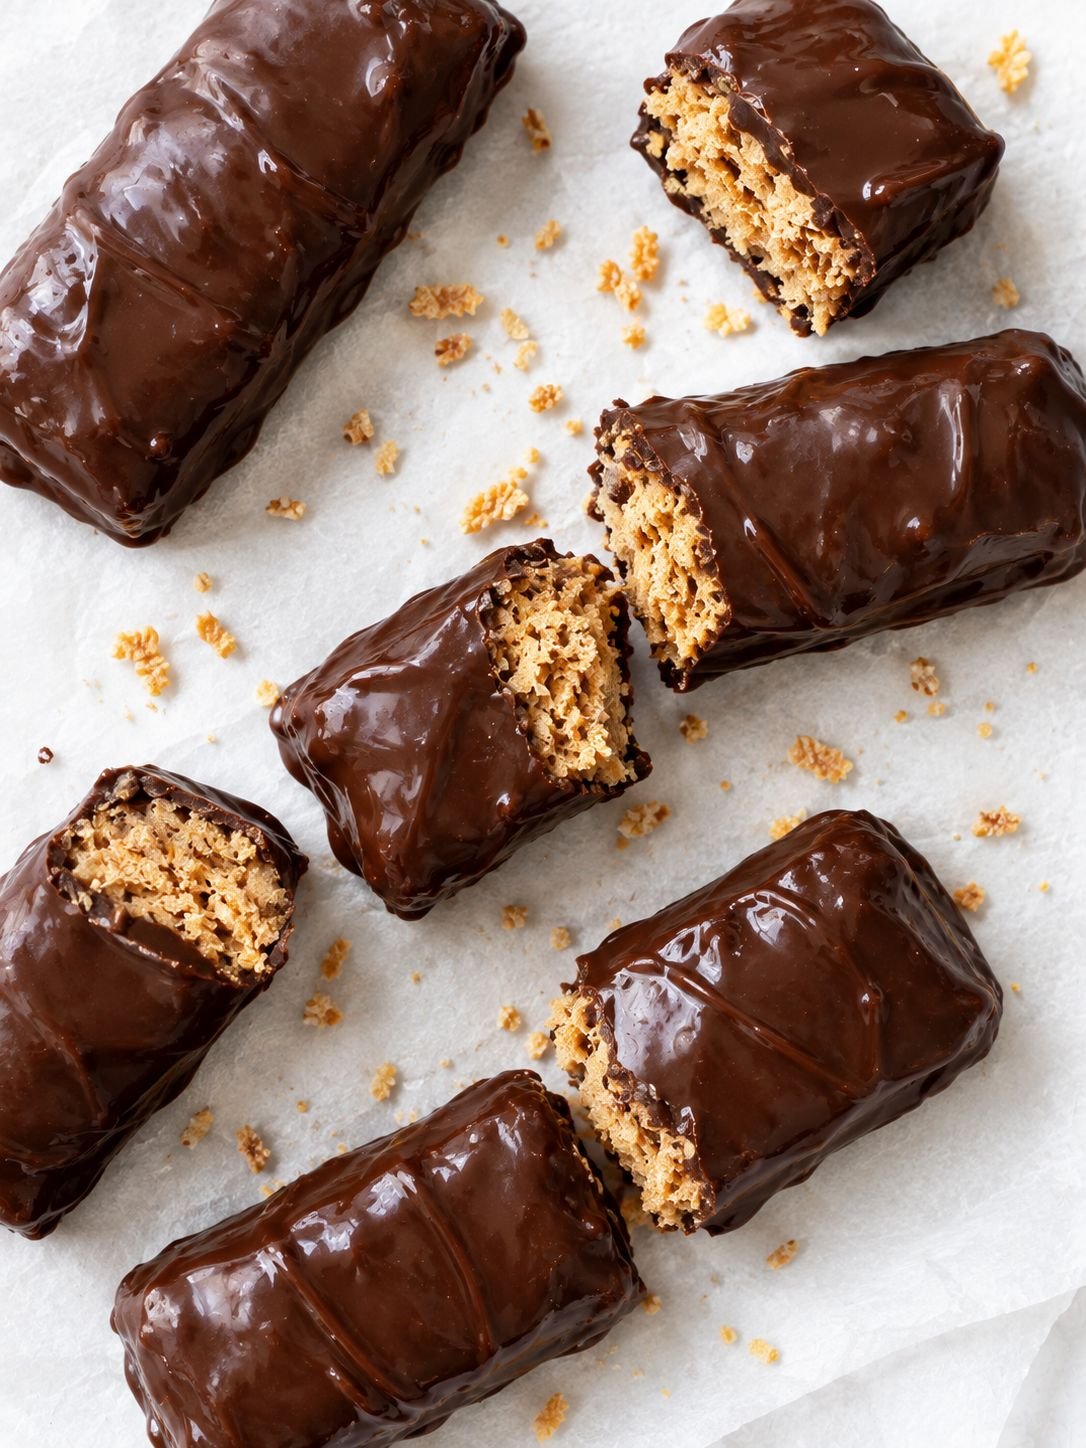
If you love the combination of crunchy peanut butter candy and a crisp chocolate shell, these easy vegan Butterfingers are about to become one of your favorite no-bake treats.
They are crunchy, peanut buttery, and coated in a snappy layer of dairy-free chocolate, but they come together with almost no effort. There is no candy thermometer required, no oven, and no complicated sugar-cooking step, just a handful of pantry staples and a little time in the freezer.
I made my first batch of these on a random Tuesday when a peanut butter craving hit hard and there was nothing chocolate in the house except a bag of dairy-free chips left over from the vegan chocolate mousse.
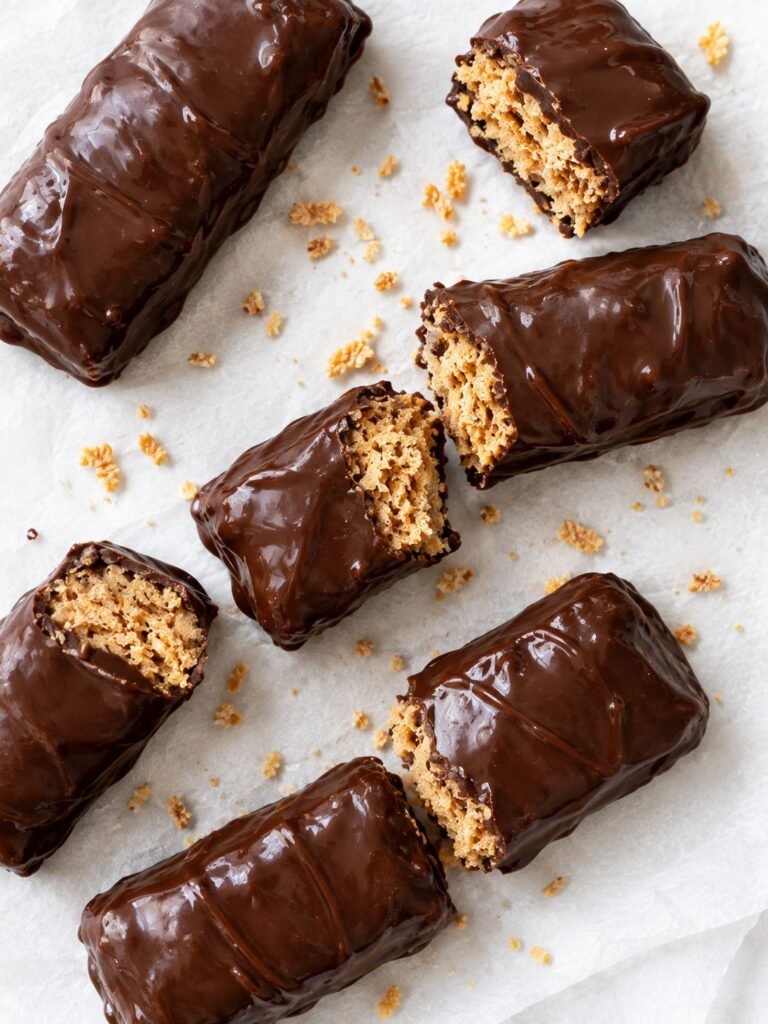
My first attempt turned into a peanut butter puddle before it ever made it to the fridge. My second attempt set up fine but had none of the signature shatter you want when you bite in. It took a third try, and a change to how I handled the corn flakes, to finally get that classic crunch right.
I especially like keeping a batch of these in the freezer because they are perfect when a sweet craving hits and I don’t want to commit to baking an entire dessert. Just grab one, let it sit for a minute, and enjoy.
Why You’ll Love This Recipe
No Baking Required – Everything comes together on the stovetop and in the freezer. You never have to turn on the oven.
Crunchy Peanut Butter Center – The crushed corn flakes give these that unmistakable shatter-and-crumble texture instead of a soft, fudgy bite.
Only a Few Ingredients – You likely already have peanut butter, maple syrup, and corn flakes in the pantry.
Naturally Dairy-Free – Made with dairy-free chocolate and no butter, so they fit easily into a plant-based kitchen.
Perfect for Meal Prep – Make a batch ahead of time and keep them chilled or frozen for an easy grab-and-go treat, the same way I do with my keto peanut butter chocolate fat bombs.
Recipe Ingredients
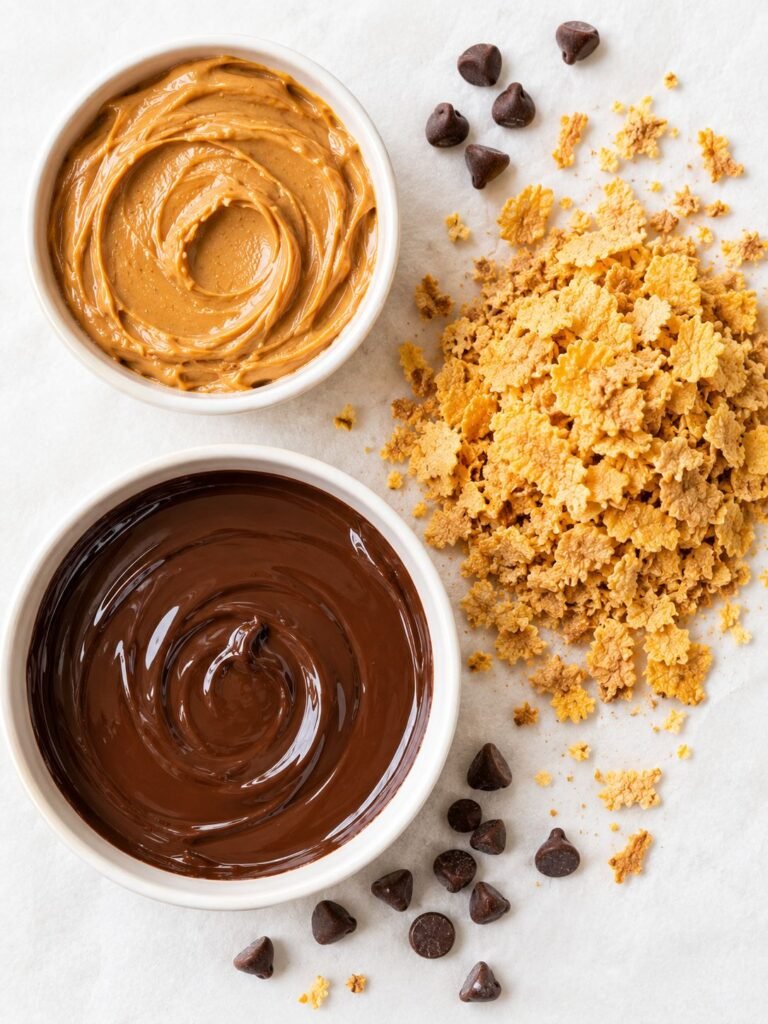
For the Peanut Butter Crunch Layer
- 1 cup natural creamy peanut butter
- 1/3 cup pure maple syrup
- 1 teaspoon vanilla extract
- 1/4 teaspoon fine sea salt
- 2 cups corn flakes, crushed fine
For the Chocolate Coating
- 10 ounces dairy-free chocolate chips
- 1 teaspoon coconut oil
- flaky sea salt, for finishing (optional)
How To Make Vegan Butterfingers
Prep the Pan
Line an 8×8-inch pan with parchment paper, leaving a little overhang on two opposite sides. That overhang is what lets you lift the whole slab out in one piece later instead of digging bars out of the corners, which matters more than it sounds like it would once the chocolate shell is on.
Warm the Peanut Butter and Maple Syrup
Add the peanut butter and maple syrup to a small saucepan set over low heat. Warm gently, stirring often, just until the mixture turns smooth and easily pourable, about 2 minutes.
Resist the urge to turn up the heat to speed things along. You’re not cooking a candy here, just loosening the peanut butter enough that it coats the corn flakes evenly, so low and slow is genuinely the right call. If it starts to bubble even a little, pull it off the heat immediately, since overheated natural peanut butter can turn grainy and separate.
Once it’s smooth, remove the pan from the heat and stir in the vanilla extract and salt. Adding these off the heat keeps the vanilla from cooking off and losing its aroma.
Fold in the Corn Flakes
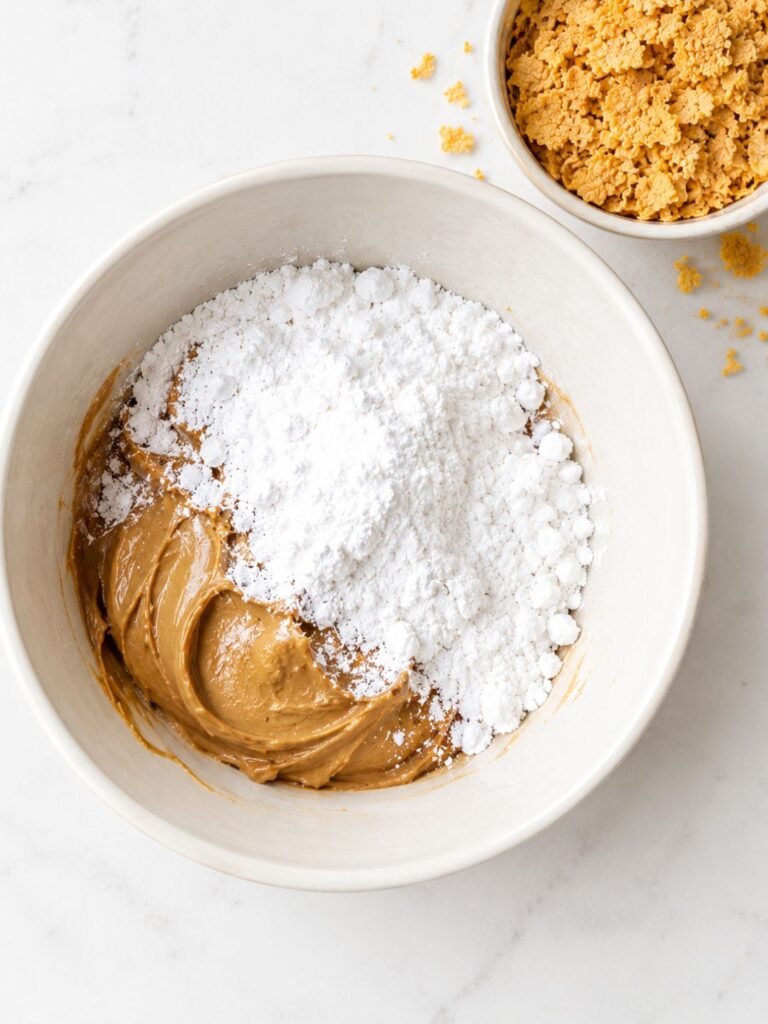
This is the step that actually determines whether your finished bars have that signature Butterfinger crunch or end up dense and soft, so it’s worth doing properly.
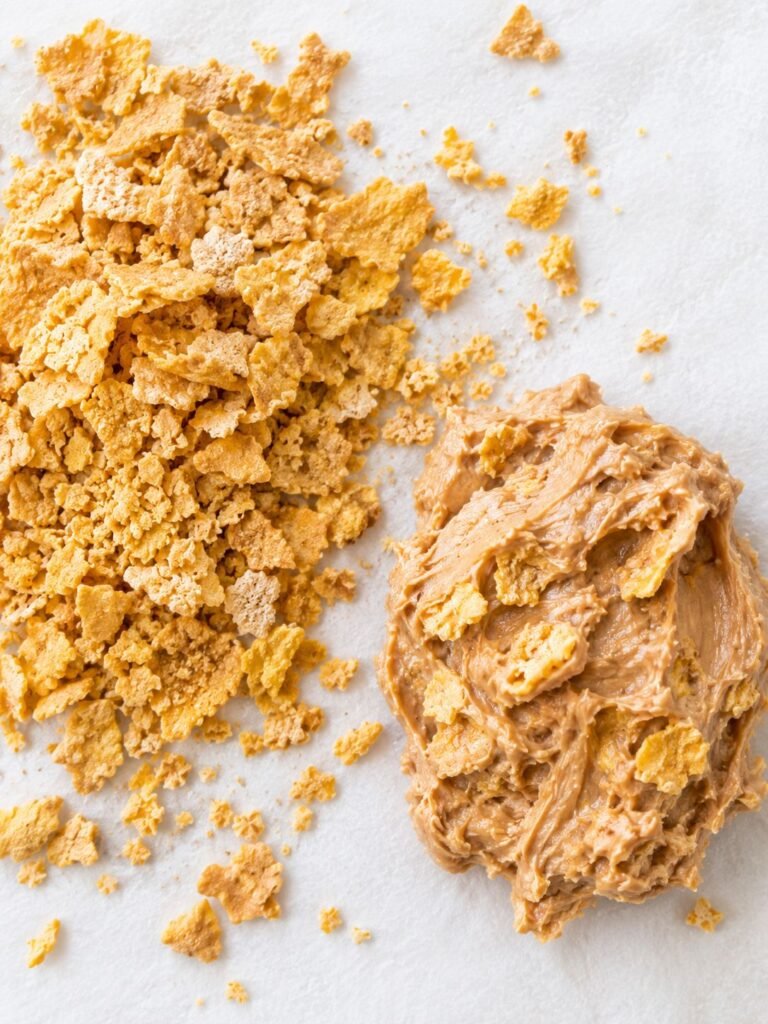
Crush the corn flakes by hand rather than in a food processor. I put mine in a zip-top bag and go over it with a rolling pin until the pieces are small but still visibly flaky, not powdered. A food processor pulses everything into a fine sand almost instantly, and that sand disappears into the peanut butter instead of giving you texture.
Fold the crushed flakes into the warm peanut butter mixture using a spatula, working gently so you don’t crush them further. Keep going until every piece is coated and no dry flakes remain at the bottom of the bowl.
Press, Freeze, and Slice
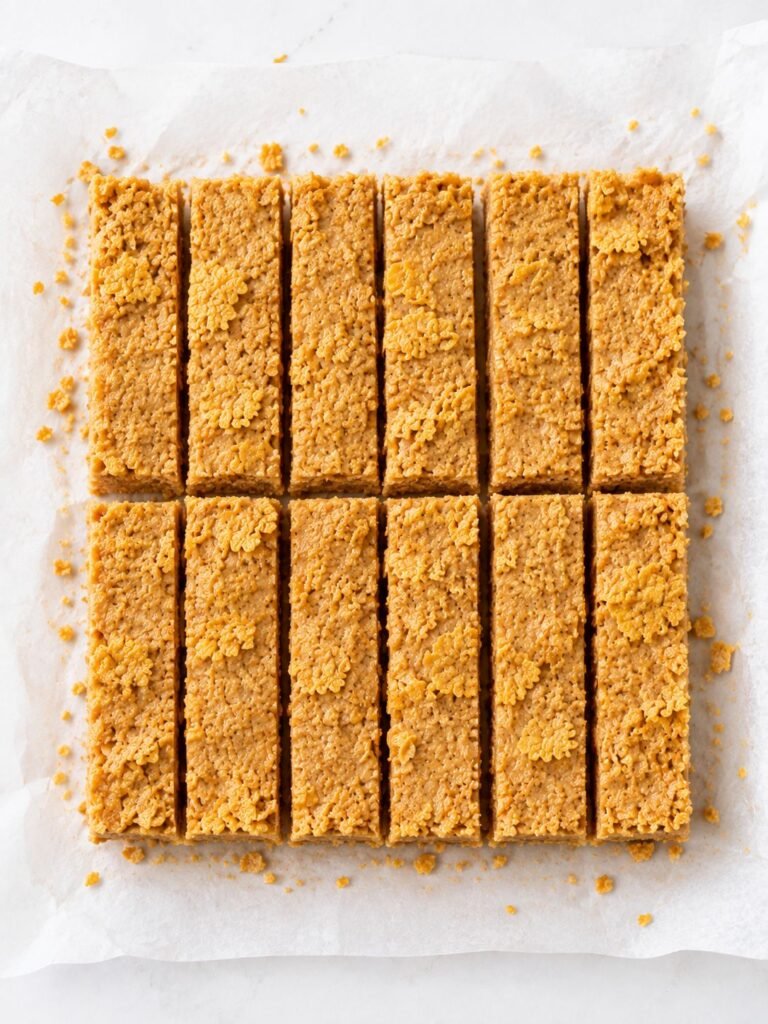
Transfer the mixture into your prepared pan and press it in firmly and evenly, using the back of a spoon or damp hands to smooth the top. This is not a step to rush. A loosely packed layer will crumble apart the moment you try to slice it, while a tightly packed one holds together through dipping and eating alike.
Freeze the pan for 20 to 25 minutes, until the whole layer feels firm when you press on it. Lift the slab out using the parchment overhang and slice it into bars or bite-sized pieces while it’s still fully cold.
Cutting cold gives you clean, sharp edges; cutting at room temperature tends to drag and crumble the corn flakes at the cut line.
Melt and Dip in Chocolate
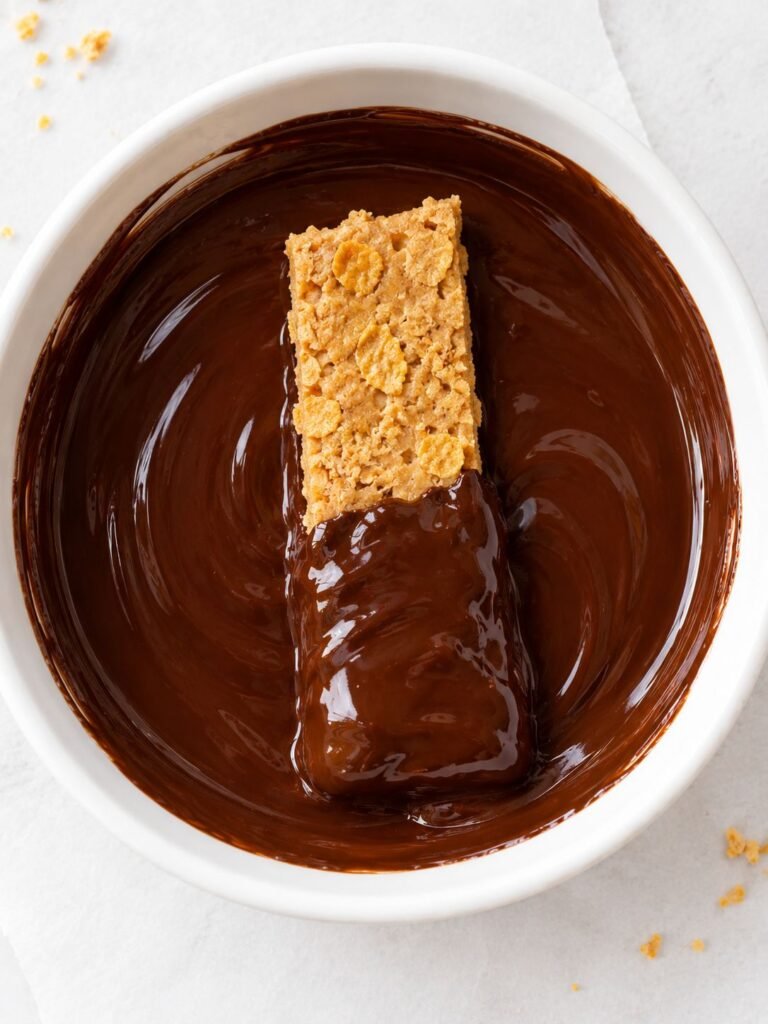
While the cut pieces sit in the freezer briefly, melt the dairy-free chocolate chips with the coconut oil in a microwave-safe bowl, using 20-second intervals and stirring well between each one.
Short bursts matter here, since dairy-free chocolate can seize and turn grainy if it gets too hot too quickly, and once that happens there’s no smoothing it back out.
Dip each piece into the melted chocolate, letting the excess drip back into the bowl before setting it on a fresh sheet of parchment. If you want that finishing touch you see on the real thing, sprinkle a pinch of flaky sea salt over each piece while the chocolate is still wet, since it won’t stick once the shell sets.
Chill Until Set
Return the dipped pieces to the refrigerator or freezer for 10 to 15 minutes, until the chocolate shell is fully hardened and no longer tacky to the touch. Once set, they’re ready to eat straight away.
Tips for the Best Vegan Butterfingers
Use Natural Peanut Butter
Look for a peanut butter that lists just peanuts and salt. Stir it thoroughly before measuring, since the oil and solids separate on the shelf, and an unstirred scoop can throw off the texture of your crunch layer.
Don’t Skip the Freeze Before Slicing
Slicing while the peanut butter layer is still soft is the fastest way to end up with ragged, crumbly edges. Give it the full 20 to 25 minutes in the freezer, and if your kitchen runs warm, a few extra minutes won’t hurt.
Watch the Chocolate Closely
Dairy-free chocolate can seize if it gets too hot too fast. Short microwave bursts with a stir in between are far more forgiving than one long blast, and the coconut oil helps the shell stay glossy and snap cleanly instead of cracking unevenly.
Crush the Corn Flakes by Hand
A rolling pin gives you uneven, crunchy little shards, which is exactly the texture that makes these taste like the real thing. A food processor tends to pulverize the flakes into a fine sand that loses the crunch entirely.
Easy Variations
Make Them Nut-Free
Sunflower seed butter works nearly as well as peanut butter here, though the flavor leans a little more savory and earthy.
Add Extra Crunch
Stir a tablespoon of finely chopped roasted peanuts into the mixture along with the corn flakes for even more texture in every bite.
Go Darker
A 60% or higher dairy-free dark chocolate cuts through the sweetness nicely, since the peanut butter layer itself is already fairly sweet from the maple syrup.
Make It Gluten-Free
Swap in a certified gluten-free corn flake cereal. The texture and flavor stay essentially the same.
How to Prep Ahead
If you’re making these for a party, a gift box, or just to have ready for the week, most of the work can be done well in advance.
The peanut butter crunch layer can be pressed into the pan, sliced, and stored in the freezer, un-dipped, for up to a month. Keep the pieces in a single layer in an airtight container with parchment between them so they don’t fuse together.
When you’re ready to serve, melt your chocolate and dip straight from frozen. The pieces will actually hold their shape better cold, so this order works in your favor rather than against it.
You can also fully assemble the finished, dipped bars ahead of time and store them as described below. I do this most weeks, since having a container ready in the freezer means dessert is never more than a two-minute wait away.
How to Store Vegan Butterfingers
Keep the finished bars in an airtight container in the refrigerator for up to 2 weeks.
For longer storage, freeze them in a freezer-safe container for up to 3 months. Place a layer of parchment paper between the pieces if you’re stacking them, so the chocolate shells don’t stick together.
These soften faster at room temperature than you might expect, so I’d recommend eating them straight from the fridge or letting them sit out for no more than a couple of minutes.
A note on freshness: because the chocolate coating seals the peanut butter layer from air, these hold their texture noticeably longer than most no-bake bars. If you ever notice the chocolate developing a dusty gray film (called bloom), that’s just cocoa butter separating from temperature swings.
It’s completely safe to eat, though the texture is best when that hasn’t happened, so try to keep the storage temperature as consistent as you can.
What to Serve These With
These are rich enough to stand on their own, but a few pairings I keep coming back to:
- A cold glass of oat or almond milk, the same way you’d want one alongside the homemade oatmeal cream pies
- Chopped and scattered over a bowl of dairy-free vanilla ice cream
- Crumbled on top of the healthy Nutella smoothie bowl for extra crunch
- Packed into a small tin as a homemade gift, since they hold up well outside the fridge for a few hours
More Copycat and Peanut Butter Recipes
- Keto Peanut Butter Chocolate Fat Bombs
- Vegan KFC-Style Fried Chicken Copycat
- Healthy Nutella Smoothie Bowl
- Keto Oreo Cheesecake Bars
- Vegan Jam Tartlets
Frequently Asked Questions
Are Butterfingers naturally vegan?
No. The original candy bar contains milk ingredients. This homemade version swaps in dairy-free chocolate and skips butter entirely, so it fits a plant-based diet while keeping the same peanut butter crunch.
Why did my peanut butter layer turn out soft instead of crunchy?
This usually comes down to how the corn flakes were crushed or how long the mixture chilled. Crush the flakes into small pieces rather than powder, and make sure the layer is fully firm before slicing and dipping.
Can I use crunchy peanut butter instead of smooth?
You can, though the texture becomes a bit busier since you’ll have peanut pieces on top of the corn flake crunch. Smooth peanut butter gives the more classic, uniform bite.
Can I make these without a stovetop?
Yes. You can warm the peanut butter and maple syrup together in the microwave in 20-second intervals, stirring between each, instead of using a saucepan.
How do I keep the chocolate coating from cracking when I bite in?
A thin, even layer set at a cold-but-not-frozen temperature gives the cleanest bite. Very thick coatings, or ones frozen rock-solid, are more prone to shattering unevenly.
Can I make a bigger batch?
Yes. This recipe doubles well in a 9×13-inch pan. Just make sure the peanut butter layer is pressed in evenly, since a thicker layer will need a few extra minutes in the freezer to firm up all the way through.
Easy Vegan Butterfingers
Ingredients
Method
- Line an 8×8-inch pan with parchment paper, leaving overhang on two sides.
- Warm the peanut butter and maple syrup in a saucepan over low heat until smooth, about 2 minutes. Remove from heat and stir in vanilla and salt.
- Crush the corn flakes by hand and fold into the warm peanut butter mixture until evenly coated.
- Press firmly into the prepared pan. Freeze for 20–25 minutes, until firm.
- Lift out using the parchment and slice into bars while cold.
- Melt the chocolate chips and coconut oil together in 20-second microwave intervals, stirring between each, until smooth.
- Dip each piece in chocolate, letting excess drip off. Sprinkle with flaky salt if using.
- Chill for 10–15 minutes, until the chocolate is fully set.