Keto Oreo Cheesecake Bars
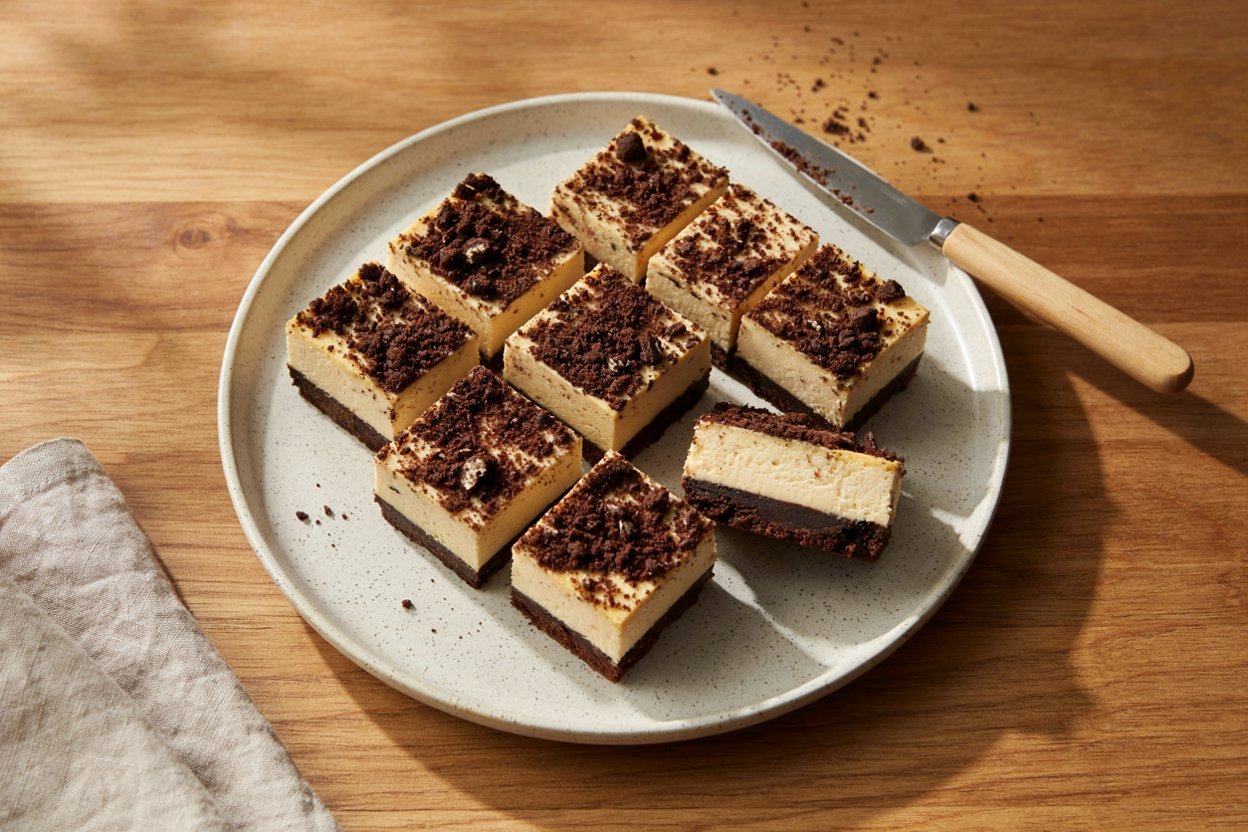
I’ve made a lot of keto cheesecake in my time, but this one is the recipe my family actually asks for by name. It started as a way to use up the last of a batch of keto chocolate cookies I’d made, crumbled into a crust with a little butter, and topped with a simple no-fuss cheesecake filling.
The first version came out too soft to slice cleanly, so I chilled it longer and cut back the cream a little, and now it holds together in neat, fudgy bars every single time.
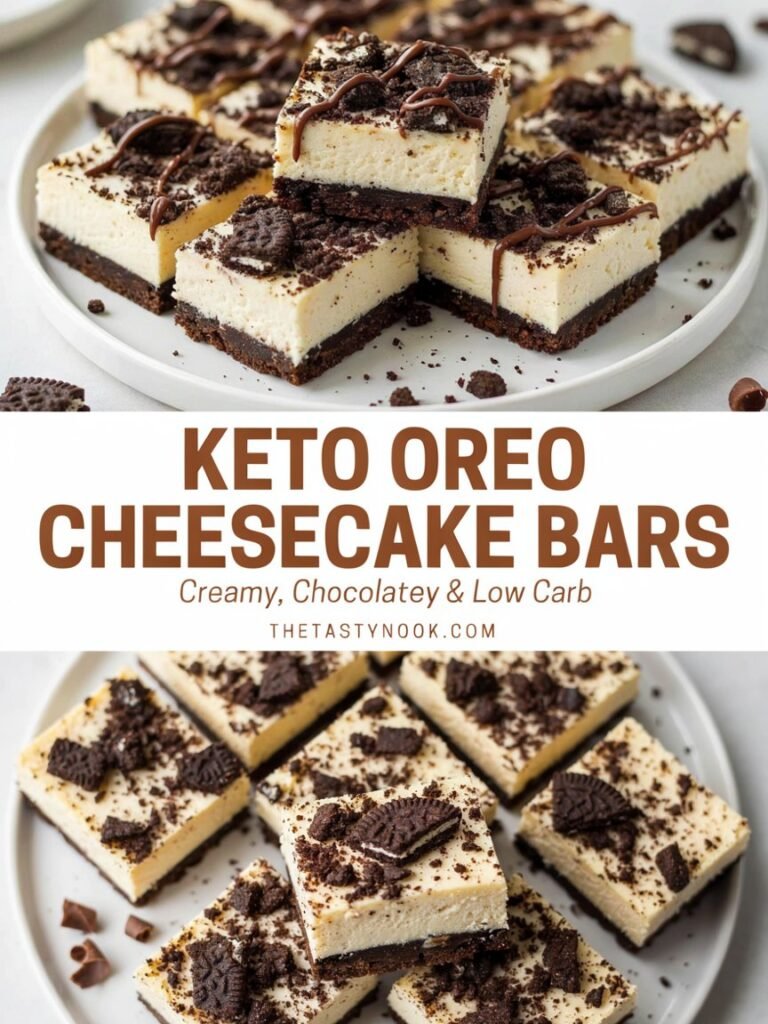
These taste exactly like the cookies-and-cream dessert you remember, deeply chocolatey crust, swirls of dark cookie crumbs through a tangy, creamy filling, without the sugar crash that usually follows.
If you’ve made my Keto Garlic Butter Meatballs or my Crispy Baked Keto Zucchini Fries, you know I like keto recipes that don’t feel like you’re missing out. This is the dessert version of that same philosophy.
Why You’ll Love This
It tastes like the real thing. A homemade keto chocolate cookie crumb gives you that classic cookies-and-cream flavor, no one will guess it’s sugar-free.
Bar form means easy portioning. No fussing with a springform pan or worrying about clean cheesecake slices, just cut into squares once chilled.
Make-ahead friendly. These need time in the fridge anyway, so they’re an easy dessert to have ready before guests arrive.
Naturally low-carb. Almond flour and a keto-friendly sweetener replace the traditional cookie crust and sugar without sacrificing texture.
No water bath required. Unlike a traditional cheesecake, this bar version skips the fuss of a water bath entirely.
What Makes These Keto-Friendly?
Traditional Oreo cheesecake bars lean on real chocolate sandwich cookies, which are loaded with sugar and refined flour, and a filling sweetened with plenty of granulated sugar.
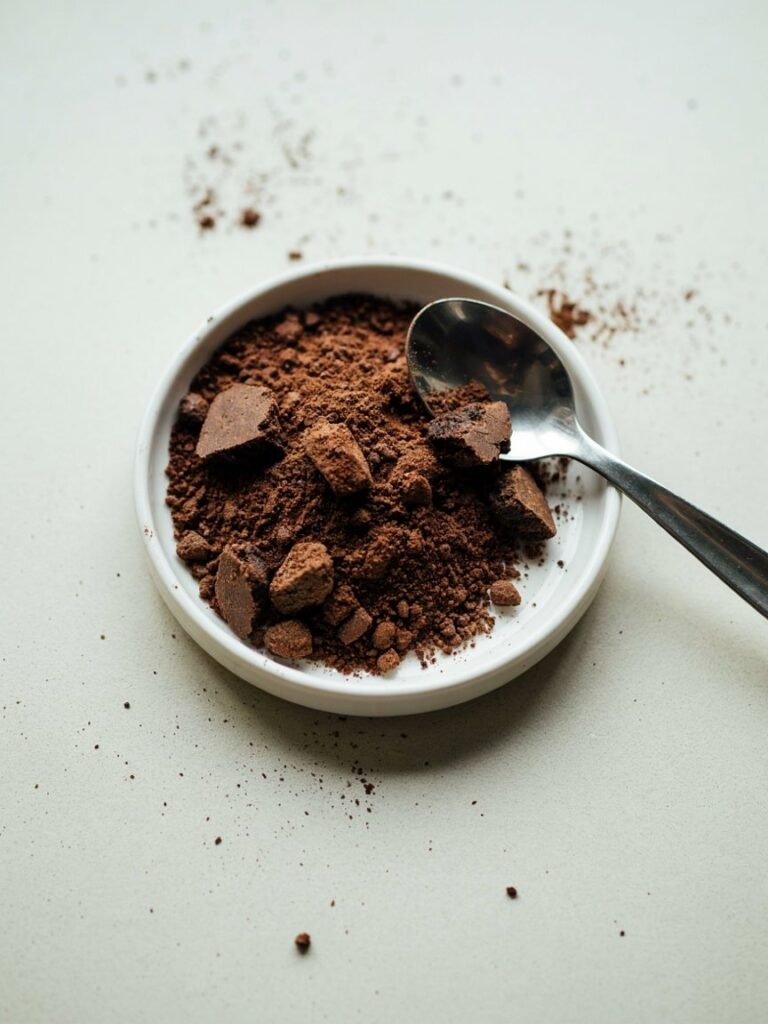
Here, the “cookie” layer is built from scratch using almond flour, cocoa powder, butter, and a keto-friendly sweetener, giving you the same deeply chocolatey, slightly crisp texture without the carbs. The cheesecake filling swaps sugar for a granulated keto sweetener, keeping the tang of the cream cheese front and center instead of masking it with sweetness.
Because everything is homemade rather than relying on a store-bought cookie, you also get to control exactly what goes into it.
A Note About the Cookie Crumbs
The cookie layer does double duty here, it’s both the crust on the bottom and the crumbled topping swirled through the filling, so it’s worth taking a little extra care with it.
Bake the cookie dough just until set, it will firm up more as it cools, and an overbaked cookie will taste bitter once crumbled and mixed into the sweeter cheesecake filling. Let the cookies cool completely before crumbling, warm cookies will turn into a paste instead of clean crumbs.
If you’re short on time, a store-bought keto chocolate cookie or low-carb chocolate wafer can stand in for the homemade version, just check the ingredient label to make sure it doesn’t contain wheat flour or added sugar.
Equipment You’ll Need
An 8×8 or 9×9 inch baking pan. Line it with parchment paper, leaving an overhang on two sides so you can lift the whole slab out cleanly once chilled.
A food processor or a sturdy zip-top bag and rolling pin. Either works well for turning the baked cookies into fine crumbs.
A hand mixer or stand mixer. This gets the cheesecake filling smooth without lumps of cream cheese.
Recipe Ingredients
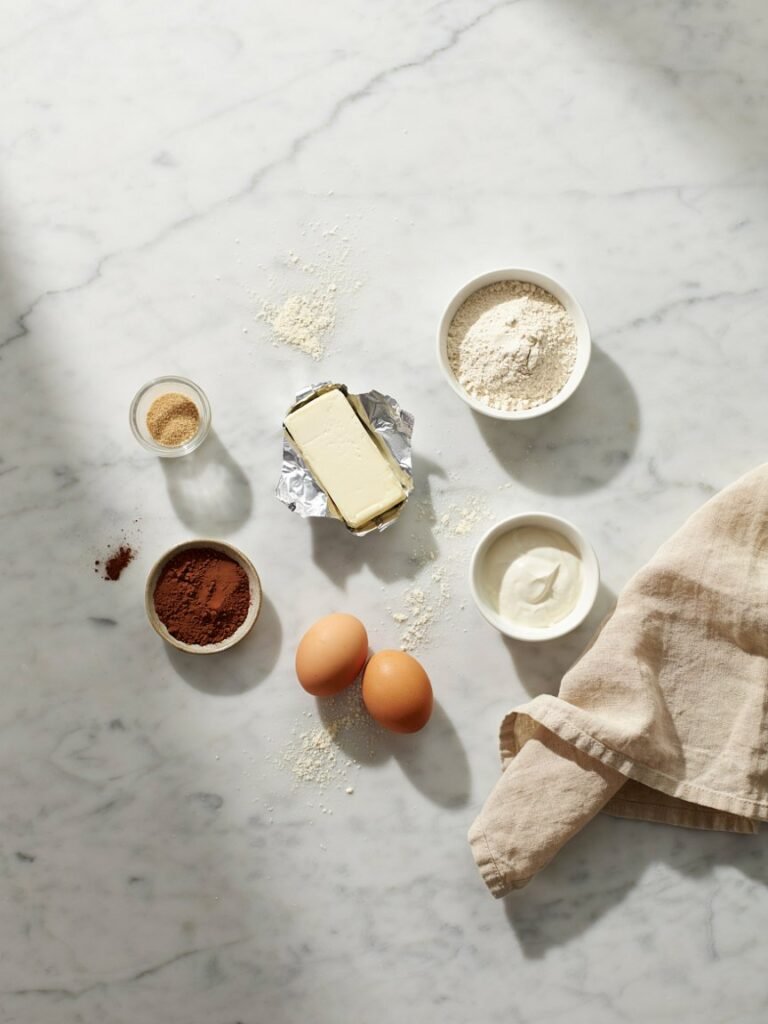
For the chocolate cookie layer:
- 1 1/2 cups almond flour
- 1/3 cup unsweetened cocoa powder
- 1/3 cup granulated keto sweetener (such as erythritol or allulose blend)
- 1/4 teaspoon baking soda
- 1/4 teaspoon salt
- 6 tablespoons unsalted butter, melted
- 1 teaspoon vanilla extract
For the cheesecake filling:
- 16 oz cream cheese, softened
- 1/2 cup granulated keto sweetener
- 2 large eggs
- 1 teaspoon vanilla extract
- 1/4 cup sour cream
- Pinch of salt
If You Need to Substitute
No almond flour? Sunflower seed flour works in the same amount for the cookie layer, though the flavor will be slightly less rich.
No granulated keto sweetener? A powdered keto sweetener works too, use slightly less since powdered sweeteners tend to measure sweeter by volume.
No sour cream? Full-fat Greek yogurt works as a substitute in the filling, and won’t change the tangy flavor much at all.
How to Make It
Step 1: Bake the Chocolate Cookie Layer
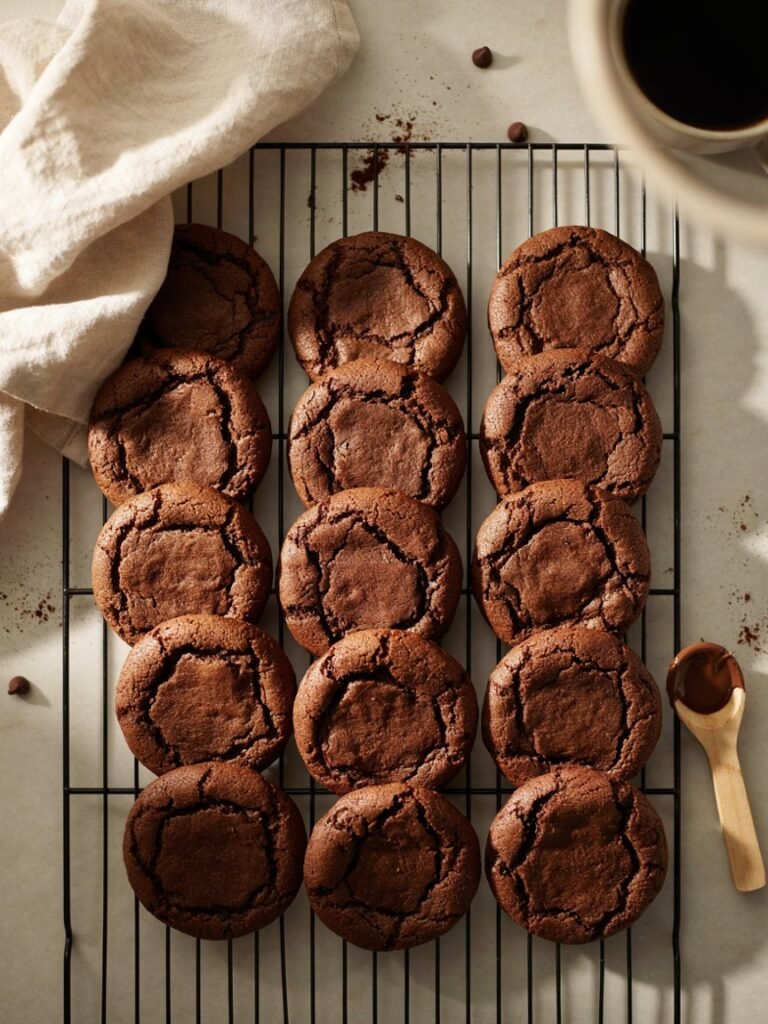
Preheat the oven to 325°F and line a baking sheet with parchment. In a bowl, whisk together the almond flour, cocoa powder, sweetener, baking soda, and salt. Stir in the melted butter and vanilla until a soft dough forms.
Press the dough into an even, thin layer on the prepared baking sheet, about 1/4 inch thick. Bake for 12 to 14 minutes, until set at the edges, it will still look slightly soft in the center, that’s fine, it firms up as it cools. Let cool completely on the pan, rushing this step will leave you with paste instead of crumbs.
Step 2: Make the Crumbs
Once fully cooled, break the cookie into pieces and pulse in a food processor until you have fine crumbs, with a few slightly larger pieces left for texture. If you don’t have a food processor, seal the pieces in a zip-top bag and crush with a rolling pin.
Step 3: Press the Crust
Line an 8×8 or 9×9 inch pan with parchment, leaving overhang on two sides. Set aside about 1/2 cup of the cookie crumbs for topping, then press the rest firmly and evenly into the bottom of the pan to form the crust.
A flat-bottomed measuring cup works well for pressing it down evenly.
Step 4: Make the Cheesecake Filling
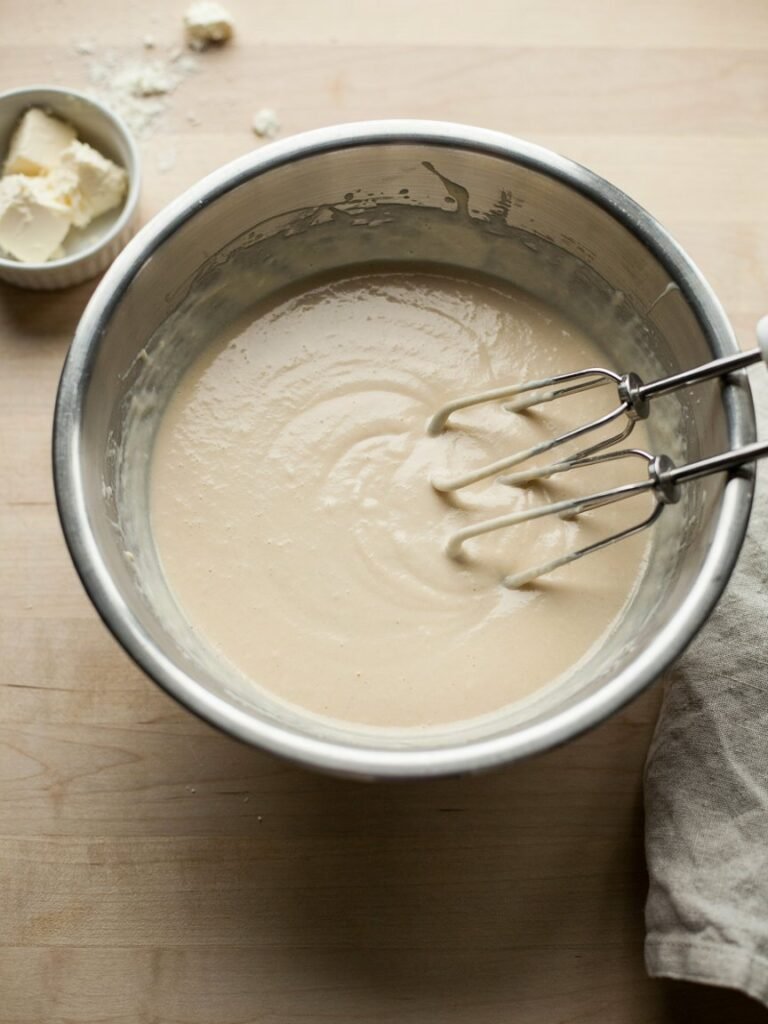
Beat the softened cream cheese and sweetener together until completely smooth, scraping down the sides of the bowl as needed, this is the step where lumps are easiest to work out, so don’t rush it.
Add the eggs one at a time, beating just until combined after each. Mix in the vanilla, sour cream, and salt until smooth.
Step 5: Assemble and Bake
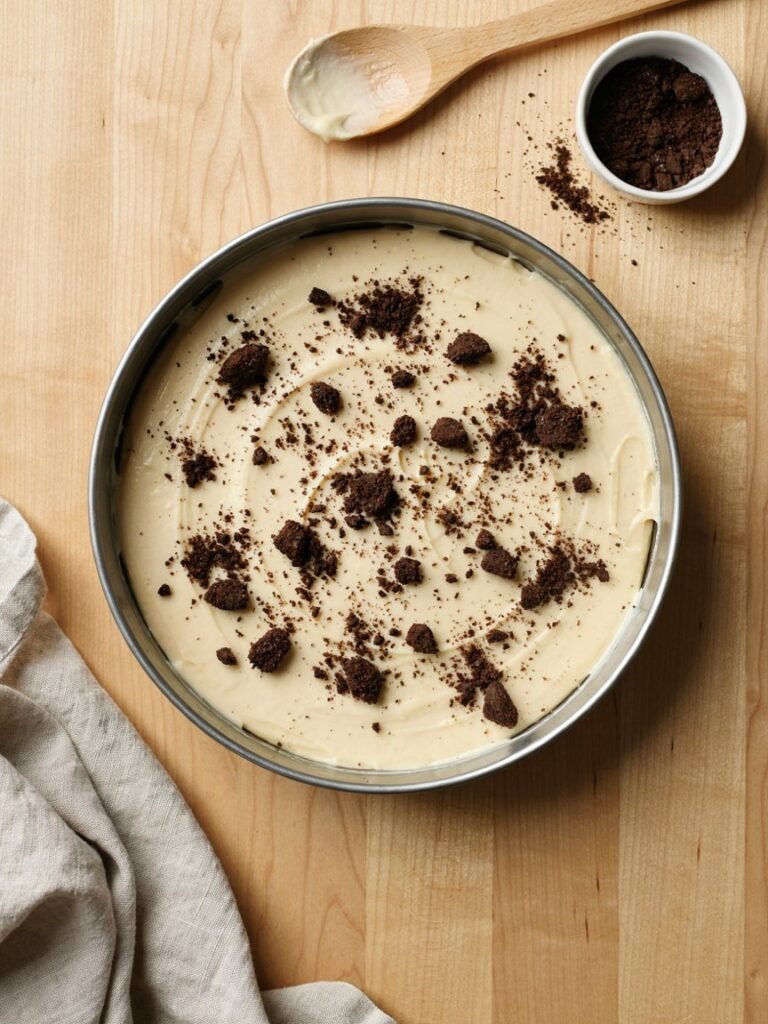
Pour the cheesecake filling over the crust and smooth the top with a spatula. Scatter the reserved cookie crumbs evenly over the top, gently pressing a few into the surface so they don’t just sit loose.
Bake at 325°F for 30 to 35 minutes, until the edges are set and the center has just a slight jiggle when you nudge the pan.
Step 6: Cool and Chill
Let the bars cool at room temperature for about an hour, then refrigerate for at least 4 hours, overnight is even better. This chilling time is what lets the filling set up firmly enough to slice into clean bars.
Step 7: Slice and Serve
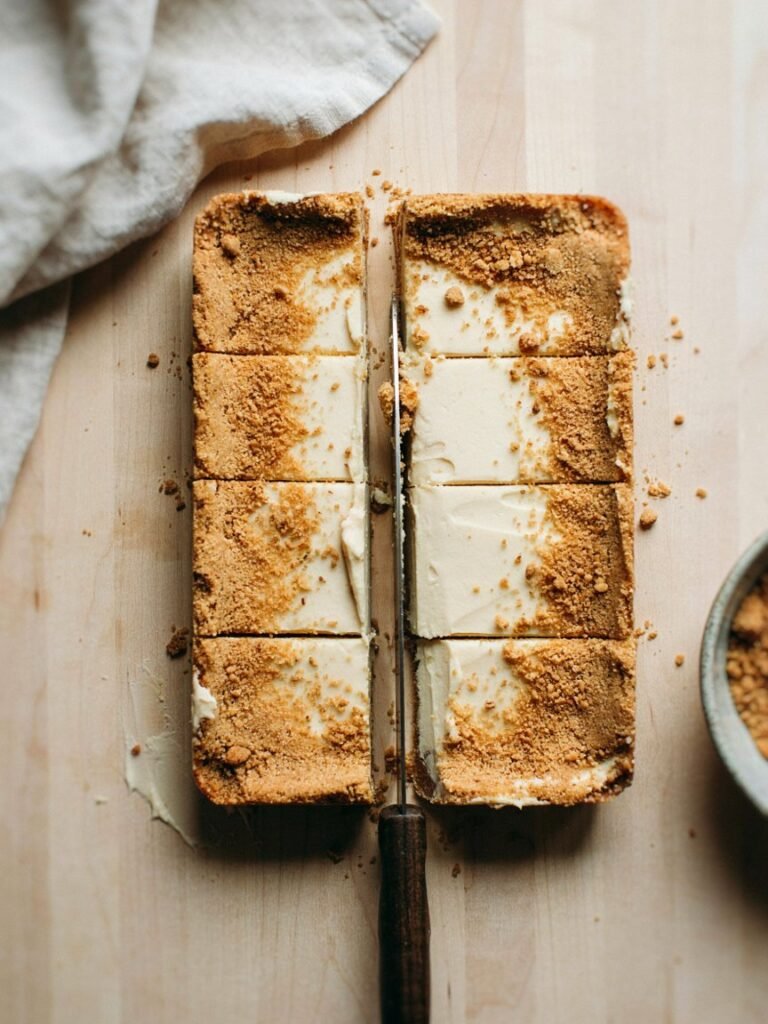
Use the parchment overhang to lift the whole slab out of the pan, then slice into squares with a sharp knife, wiping the blade clean between cuts for the neatest edges.
Tips
Let the Cream Cheese Fully Soften
Cold cream cheese is the number one cause of a lumpy filling. Leave it out at room temperature for at least an hour before you start, or soften it briefly in short bursts in the microwave if you’re short on time.
Don’t Overmix Once the Eggs Go In
Beating too much air into the batter after adding the eggs can cause the bars to puff up and then crack as they cool. Mix just until the eggs are incorporated and stop.
Chill Fully Before Slicing
It’s tempting to cut into these early, but a fully chilled bar slices clean while a warm one will be soft and messy. Give it the full 4 hours if you can.
My Cheesecake Bars Cracked, What Happened?
Overbaked. Cheesecake continues to cook as it cools, so pull it from the oven while the center still has a slight jiggle rather than waiting for it to look fully set.
Overmixed the batter. Too much air whipped into the filling after the eggs go in can cause the bars to rise and then crack as they deflate. Mix on low and only until just combined.
Cooled too quickly. A sudden temperature change, like moving straight from a hot oven to the fridge, can cause cracking. Let the bars cool at room temperature first before chilling.
Can I Make This Ahead of Time?
Yes, and honestly, this recipe is better made ahead. The full bake and chill time works well the day before you plan to serve, giving the filling plenty of time to set and the flavors time to meld.
You can also bake and crumble the cookie layer up to 3 days ahead and store the crumbs in an airtight container at room temperature until you’re ready to build the bars.
How to Store and Freeze
Storing: Keep leftover bars covered in the fridge for up to 5 days.
Freezing: Wrap individual bars tightly in plastic wrap, then store in a freezer bag for up to 2 months. Thaw overnight in the fridge before serving.
What to Pair With This
A cup of coffee or espresso. The bitterness balances out the sweetness of the bars nicely.
Fresh berries. A few raspberries or strawberries on the side add a little brightness alongside the rich chocolate flavor.
A dollop of sugar-free whipped cream. For an extra-indulgent serving, add a small spoonful on top just before serving.
Making These for Kids or a Crowd
These are rich, so smaller squares go a long way, cut into 16 bars instead of 9 for a crowd or for kids with a smaller sweet tooth.
If you’re serving a mixed group where not everyone is keto, these hold up well next to a regular dessert spread, most people can’t tell the difference from a traditional cheesecake bar.
Serving Suggestions and Variations
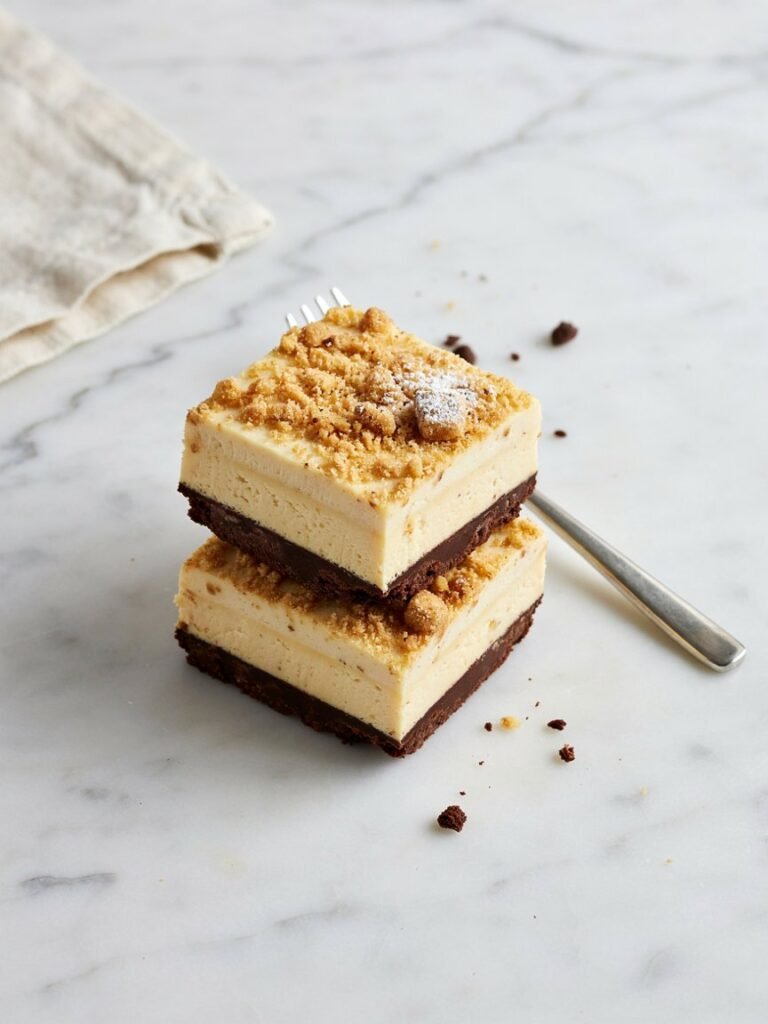
Mint chocolate version. Add 1/4 teaspoon peppermint extract to the filling for a mint cookies-and-cream flavor.
Peanut butter swirl. Warm a couple tablespoons of natural peanut butter and swirl it into the filling before baking.
No-bake version. Skip baking the filling and instead set it with a bit of grass-fed gelatin, then chill until firm, useful if you’d rather avoid turning the oven on.
Mini bars. Use a lined mini muffin tin instead of a baking pan for individually portioned bite-sized servings.
More Recipes
- Keto Garlic Butter Meatballs
- Crispy Baked Keto Zucchini Fries
- Keto Peanut Butter Chocolate Fat Bombs
- Keto Coconut Cream Pie
Frequently Asked Questions
Can I use a store-bought keto cookie instead of making the chocolate cookie layer? Yes, look for a low-carb chocolate wafer or cookie without wheat flour or added sugar, and crush it the same way.
Why is my filling lumpy? Cold cream cheese is almost always the cause. Make sure it’s fully softened at room temperature before mixing.
Can I make this in a springform pan instead of bars? Yes, this works well as a round cheesecake in a springform pan too, just increase the bake time by 10 to 15 minutes and watch for the same slight jiggle in the center.
Do these need to be refrigerated? Yes, because of the cream cheese filling, these should be kept chilled and not left at room temperature for more than 2 hours.
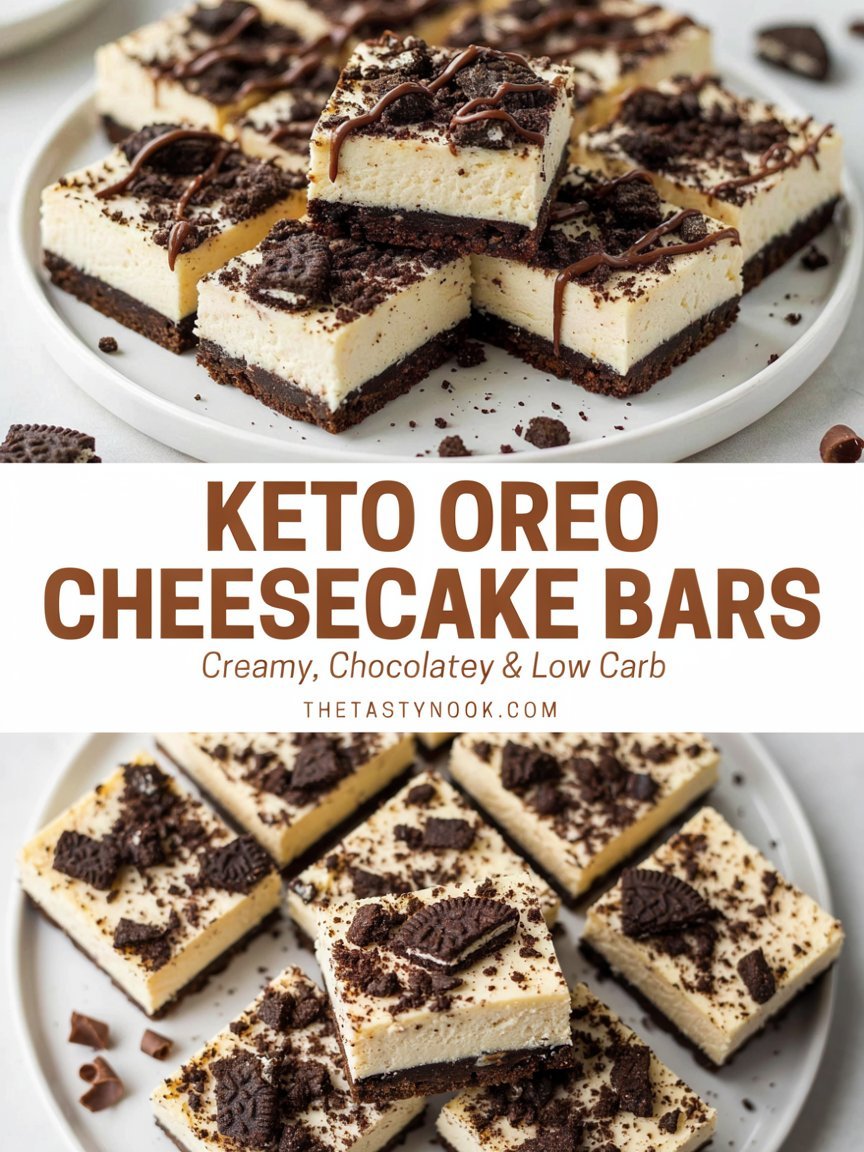
Keto Oreo Cheesecake Bars
Ingredients
Method
- Bake the almond flour cookie dough at 325°F for 12 to 14 minutes. Cool completely.
- Pulse or crush into crumbs, reserving 1/2 cup for topping.
- Press remaining crumbs into a lined 8×8 or 9×9 pan to form the crust.
- Beat cream cheese and sweetener until smooth, add eggs one at a time, then mix in vanilla, sour cream, and salt.
- Pour filling over crust, top with reserved crumbs, and bake at 325°F for 30 to 35 minutes until edges are set with a slight center jiggle.
- Cool at room temperature, then refrigerate at least 4 hours before slicing.
Notes
- Let cream cheese fully soften to avoid a lumpy filling.
- Don’t overmix once the eggs are added, to prevent cracking.
- Full chill time is essential for clean slices.