
Garlic Chicken Wrap
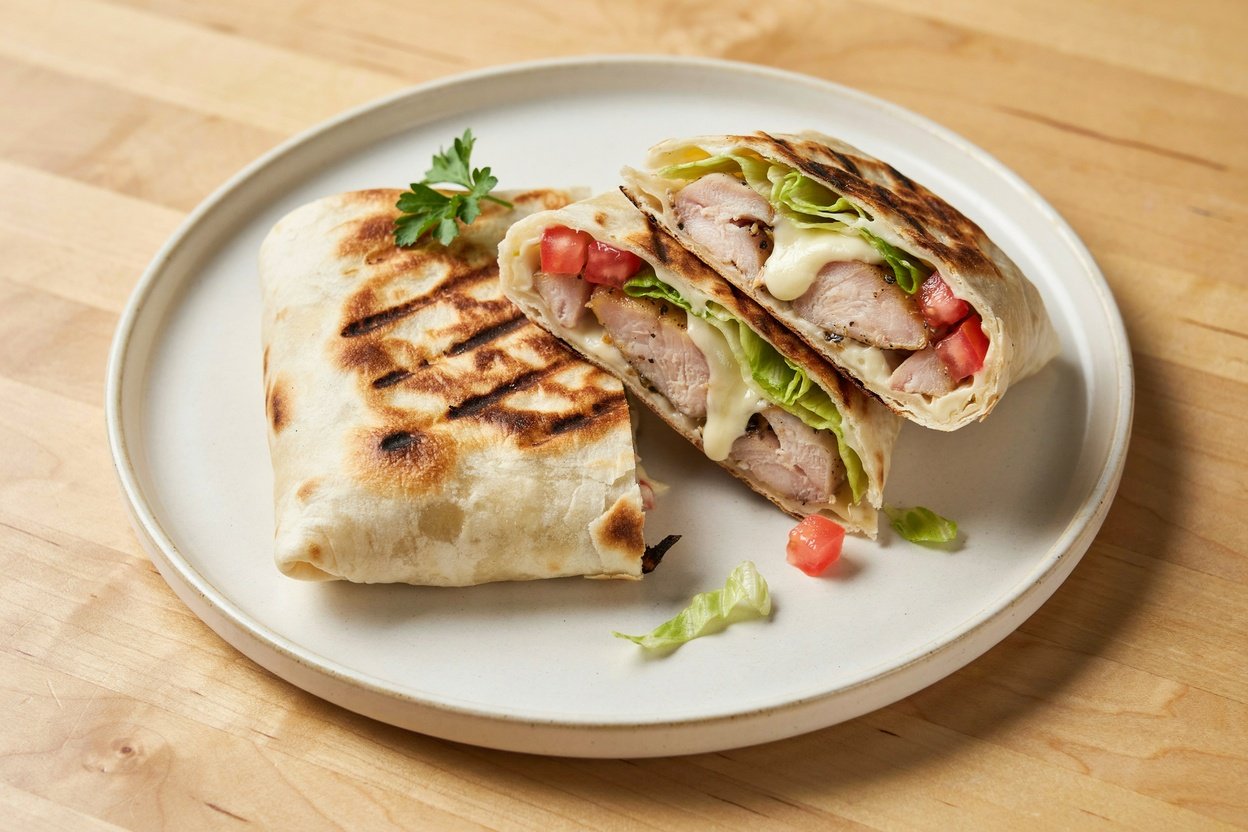
Some dinners earn their place in the weekly rotation just by being reliably good, and this is one of those. Juicy, garlicky chicken, a quick creamy garlic sauce, melted cheese, and crisp lettuce and tomato, all rolled into a warm tortilla and given a quick sear in a hot pan until the outside turns golden and a little crisp.
It’s the kind of thing that comes together fast enough for a weeknight but tastes like it took more effort than it actually did.
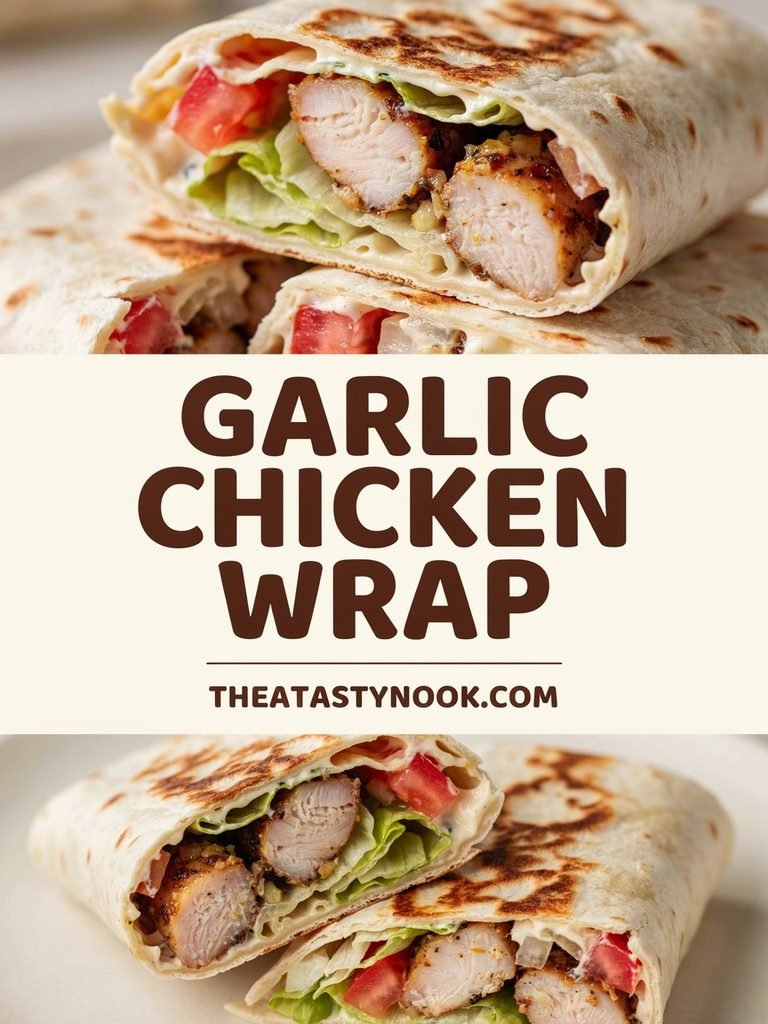
What makes this version worth bookmarking is the garlic itself, used twice, once in the chicken marinade and again in the sauce, so the flavor builds instead of just sitting on the surface.
Combined with a hot skillet sear at the end that crisps the tortilla and melts the cheese right against it, this lands somewhere between a wrap and a quesadilla, and it’s genuinely hard to stop at one.
Why You’ll Love This
Big, layered garlic flavor. Garlic goes into both the chicken and the sauce, so every bite carries it rather than just the first one.
Ready in about 30 minutes. Quick enough for a weeknight, with room to prep the chicken and sauce ahead if you want dinner to come together even faster.
That crisp, pan-seared shell. Searing the assembled wrap in a hot pan is what takes this from “good wrap” to genuinely craveable, melting the cheese against the tortilla and crisping the outside at the same time.
Easy to customize. Swap the protein, adjust the heat, or add extra vegetables without changing the core technique.
Equipment You’ll Need
A large skillet. For both cooking the chicken and searing the finished wraps, cast iron or a heavy nonstick pan both work well here.
A small bowl. For whisking together the garlic sauce.
Tongs or a spatula. For flipping the wraps once they’re assembled and in the pan, a wide spatula makes this easier than tongs.
Recipe Ingredients
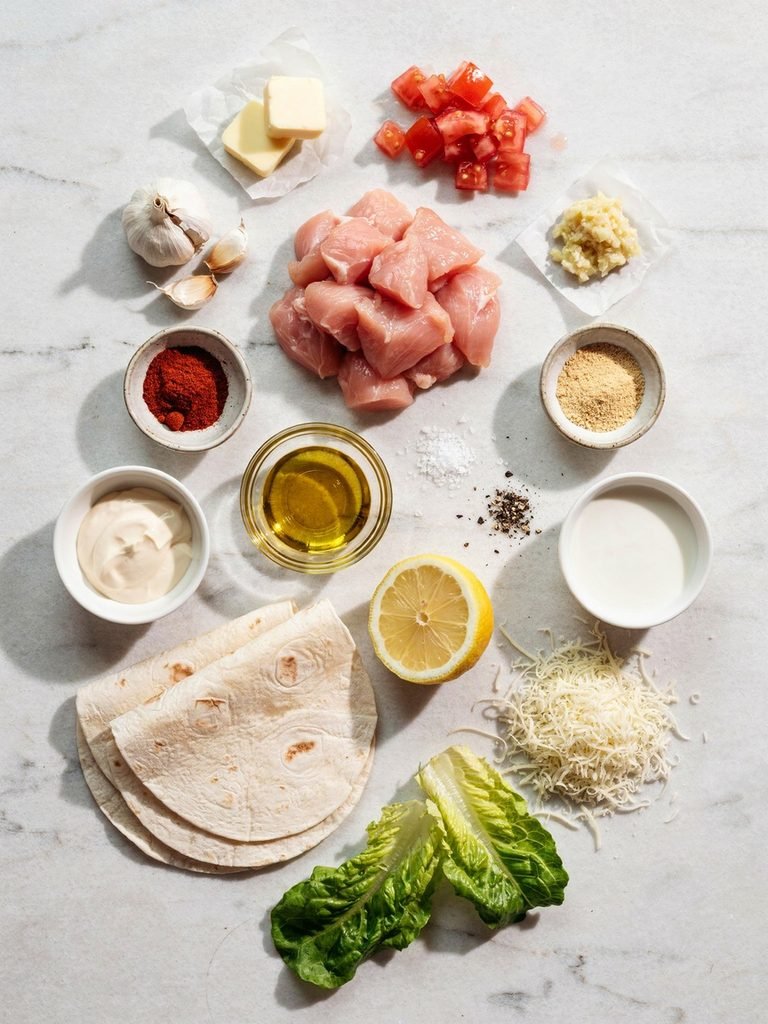
For the chicken:
- 1 lb boneless, skinless chicken breast, cut into bite-sized pieces
- 2 tablespoons olive oil
- 4 cloves garlic, minced
- 1 teaspoon smoked paprika
- ½ teaspoon onion powder
- Salt and pepper to taste
For the garlic sauce:
- ⅓ cup mayonnaise
- 2 tablespoons plain Greek yogurt
- 2 cloves garlic, grated or finely minced
- 1 teaspoon lemon juice
- Salt to taste
For assembly:
- 4 large flour tortillas
- 1 cup shredded mozzarella or cheddar
- 1 cup shredded lettuce
- 1 small tomato, diced
- 2 tablespoons butter, softened (for searing)
If You Need to Substitute
Want it lighter? Swap the mayonnaise-based sauce for a Greek yogurt and garlic sauce using yogurt only, it’ll be tangier and a bit less rich, but still creamy enough to hold everything together.
No fresh garlic? ½ teaspoon garlic powder can stand in for each clove in a pinch, though the flavor will be noticeably milder and less sharp than fresh.
Dairy-free? Use a dairy-free shredded cheese and a dairy-free mayonnaise, both are widely available and work well here without changing the method.
Want more heat? Add a diced jalapeño to the filling, or stir a teaspoon of hot sauce into the garlic sauce itself.
How to Make It
Step 1: Season and Cook the Chicken
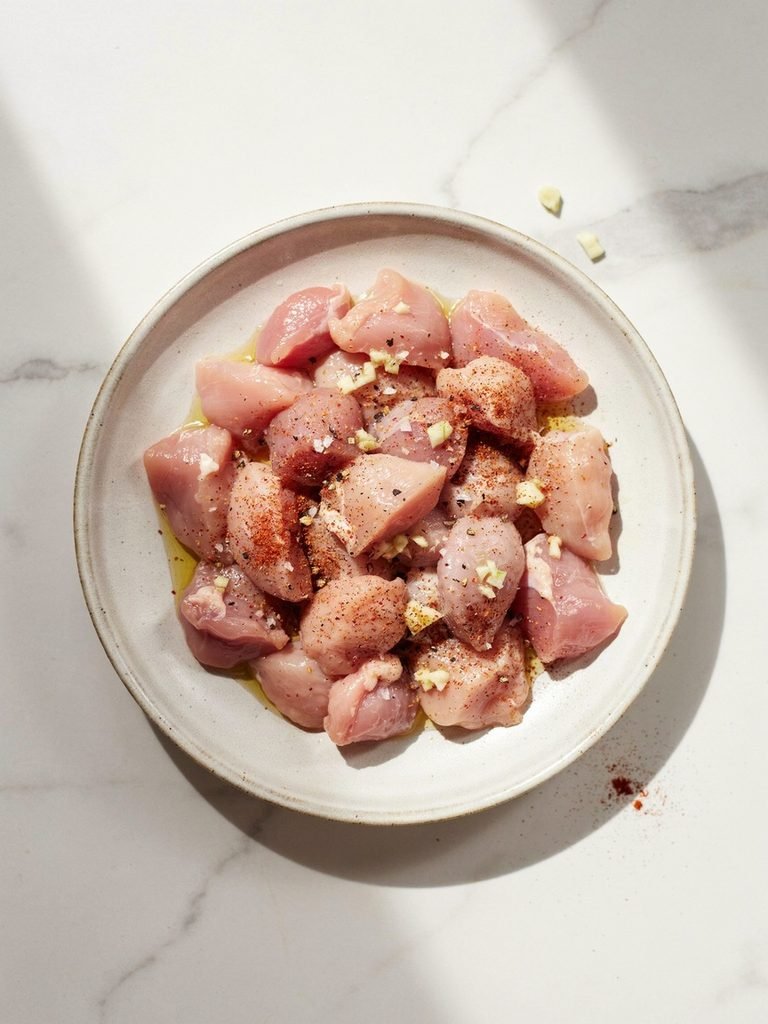
Toss the chicken pieces with olive oil, minced garlic, smoked paprika, onion powder, salt, and pepper until evenly coated.
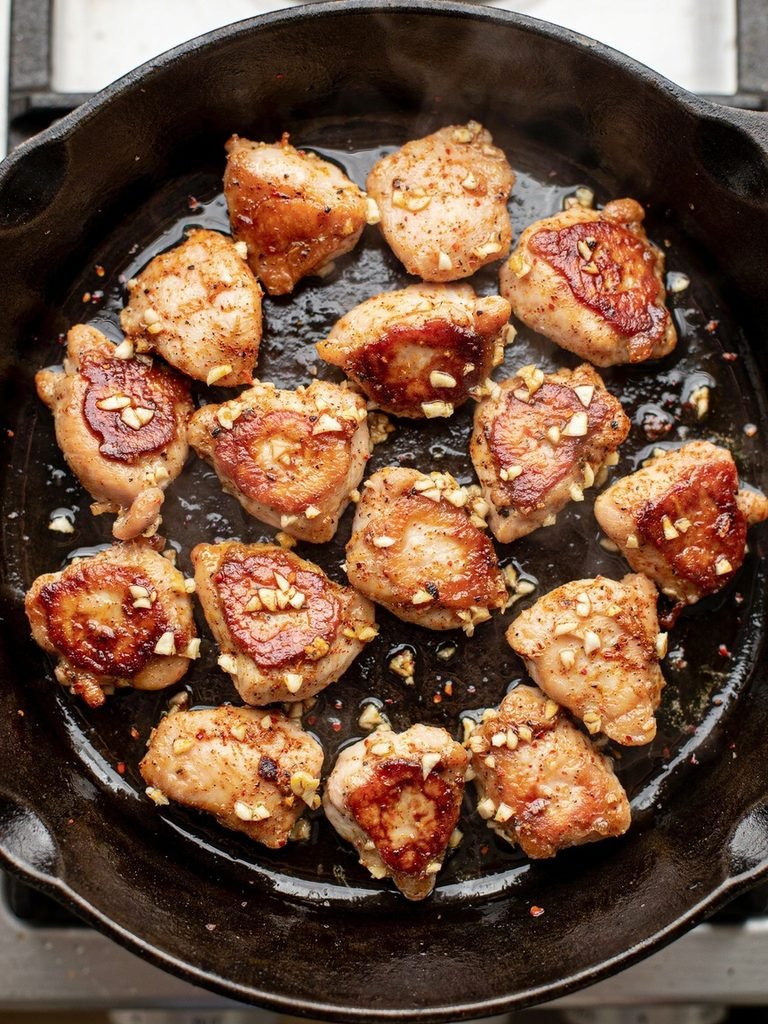
Heat a skillet over medium-high heat and cook the chicken for 6 to 8 minutes, stirring occasionally, until golden and cooked through with an internal temperature of 165°F. Remove from the pan and set aside.
Step 2: Make the Garlic Sauce
While the chicken cooks, whisk together the mayonnaise, Greek yogurt, grated garlic, lemon juice, and a pinch of salt in a small bowl until smooth.
Step 3: Assemble the Wraps
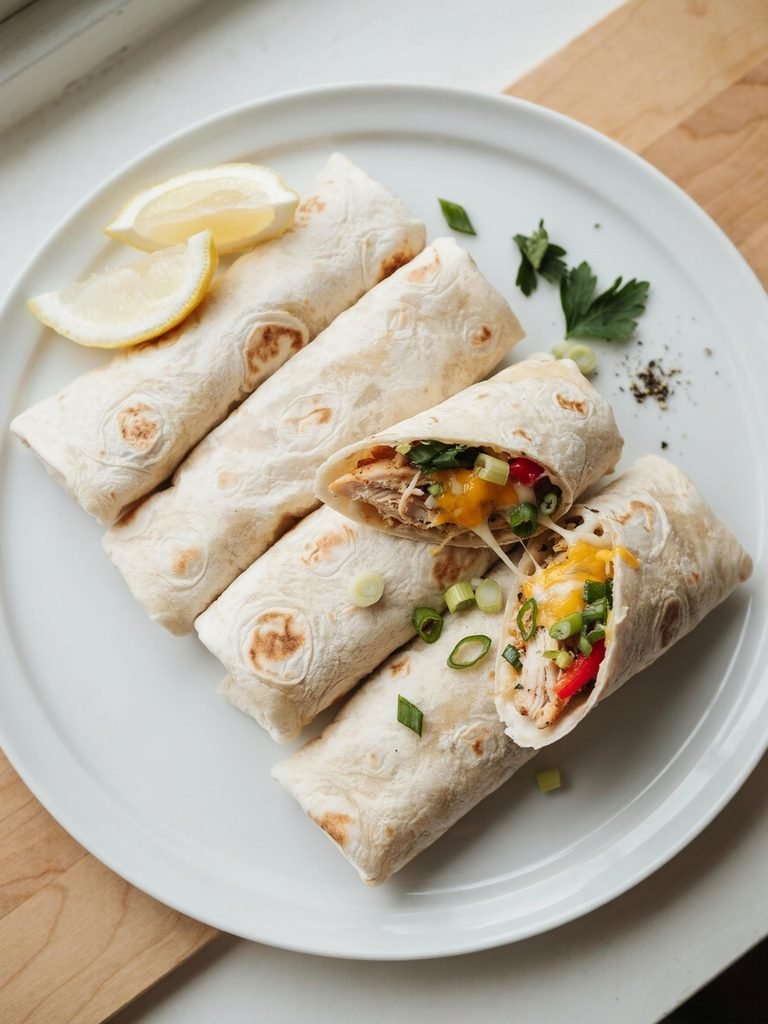
Lay out the tortillas and spread a generous layer of garlic sauce down the center of each. Divide the cooked chicken evenly among the tortillas, then top with shredded cheese, lettuce, and diced tomato.
Step 4: Fold and Seal
Fold in the sides of each tortilla, then roll tightly from the bottom up, tucking the filling in as you go so it doesn’t spill out the ends. A tight roll is what keeps the wrap together during the sear in the next step.
Step 5: Sear the Wraps
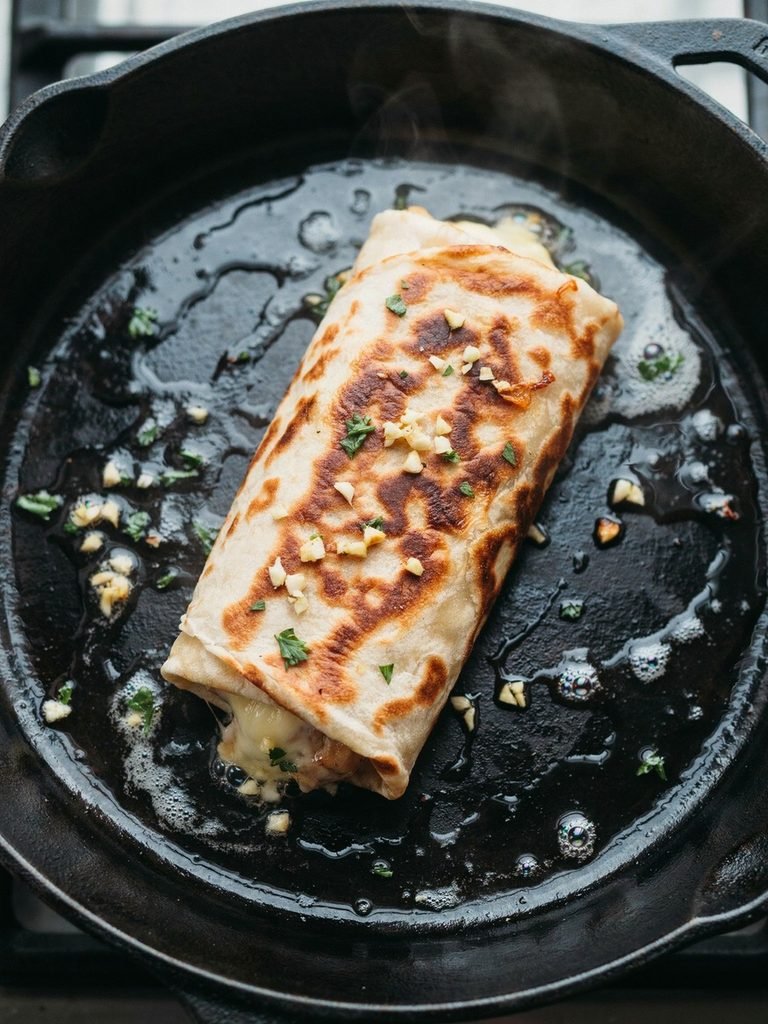
Wipe out the skillet and return it to medium heat. Spread a thin layer of softened butter on the outside of each wrap, then place seam-side down in the hot pan. Sear for 2 to 3 minutes per side, pressing down gently with a spatula, until golden and crisp and the cheese inside has melted.
Step 6: Slice and Serve
Let the wraps rest for a minute before slicing in half on a diagonal, this gives the cheese a moment to set slightly so it doesn’t spill out the second you cut in. Serve warm.
A Note About the Garlic Sauce
The sauce is really what ties this whole wrap together, and it’s worth getting the balance right. Mayonnaise alone can taste a little flat and one-note, while yogurt alone can taste too sharp and tangy on its own.
Combining the two gives you richness from the mayonnaise and a little brightness and lightness from the yogurt, closer to what a good garlic aioli tastes like without needing to make an actual aioli from scratch.
Grating the garlic rather than mincing it for the sauce specifically makes a real difference here, a fine grate distributes much more evenly through a creamy sauce than minced pieces do, and you won’t end up with an unexpectedly strong bite of garlic in one spot.
Why This Method Works
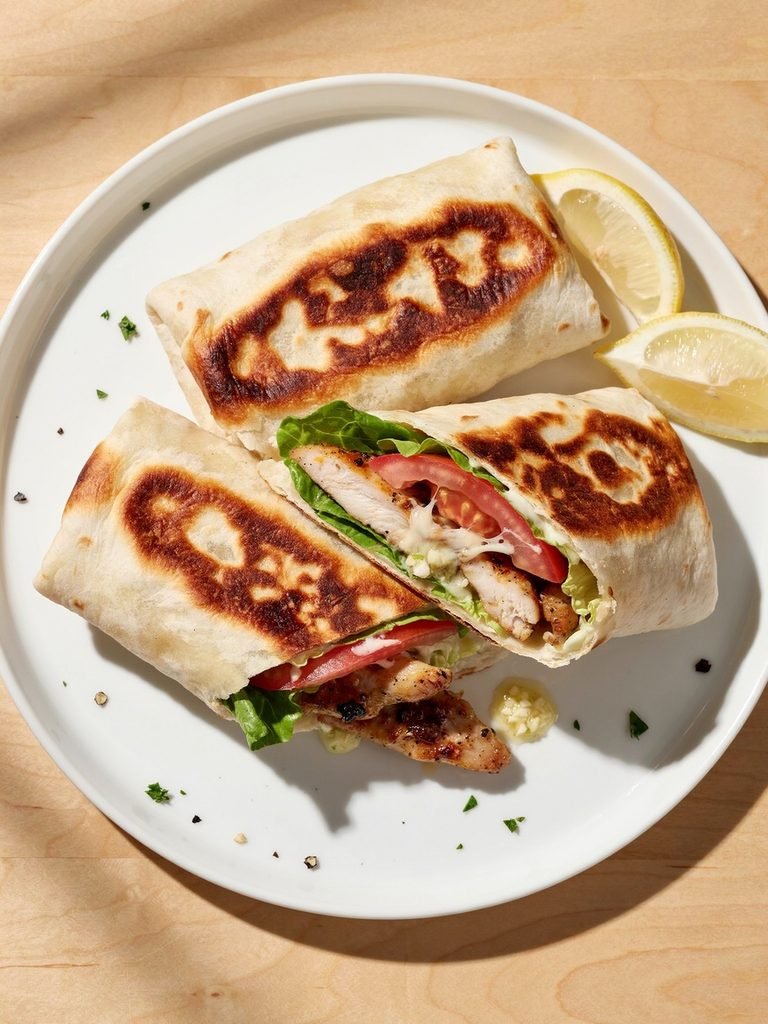
Searing the assembled wrap, rather than just serving it warm and soft, does two things at once. The butter on the outside crisps and browns as it hits the hot pan, giving you that satisfying, slightly crunchy shell.
At the same time, the heat from the pan melts the cheese inside against the warm tortilla, which is what helps hold the whole roll together once you slice into it, rather than everything sliding loose the moment you take a bite.
Cooking the garlic twice, once in the chicken and again raw in the sauce, also matters more than it might seem. Cooked garlic turns mellow and slightly sweet, while raw garlic stays sharp and punchy. Using both gives the finished wrap real depth, instead of one single garlic note running through the whole thing.
How to Tell When It’s Done
The chicken is ready once it’s opaque all the way through with no pink remaining, and reaches 165°F on an instant-read thermometer if you want to check with certainty. It should also have some visible golden-brown color on the outside from the pan, not just be cooked through and pale.
The wraps themselves are ready to come off the heat once the outside is deep golden brown and feels crisp when pressed with a spatula, and you can see the cheese has melted at the edges where the seam meets the pan.
Common Mistakes to Avoid
Overfilling the tortilla. It’s tempting to pile on extra chicken and cheese, but an overfilled wrap won’t roll tightly and tends to burst open during the sear. Keep the filling generous but contained.
Rolling too loosely. A loose roll unravels the moment it hits the hot pan. Fold the sides in first, then roll tight from the bottom, tucking as you go.
Searing over heat that’s too high. High heat browns the outside before the cheese has time to fully melt inside. Medium heat gives the inside time to catch up with the outside.
Skipping the rest before slicing. Cutting into the wrap immediately means the melted cheese spills out everywhere. A one-minute rest lets everything set just enough to slice cleanly.
What to Serve It With
A simple side salad. Something light and vinegar-dressed balances the richness of the wrap nicely.
Sweet potato fries or regular fries. A classic, easy pairing that rounds this out into a full meal.
Extra garlic sauce for dipping. Doubling the sauce recipe and setting some aside specifically for dipping is never a bad idea.
Nutrition Highlights
Between the chicken and the cheese, this wrap carries a solid amount of protein, which is part of why it’s genuinely filling despite coming together so quickly.
Using Greek yogurt alongside the mayonnaise in the sauce lightens it slightly compared to an all-mayonnaise version, without giving up any of the creamy texture that makes the sauce work.
Prep-Ahead Tips
- Cook the chicken up to 2 days ahead and store it in the fridge, reheating briefly before assembling.
- Make the garlic sauce up to 3 days ahead, it keeps well and the flavor actually deepens a bit overnight.
- Shred the cheese and prep the lettuce and tomato ahead of time so assembly takes only a couple of minutes.
How to Store
Leftovers: Store assembled, seared wraps in an airtight container in the fridge for up to 3 days. The tortilla will soften somewhat, but the flavor holds up well.
Reheating: A skillet over medium heat for a few minutes per side brings back most of the crisp exterior far better than a microwave, which will leave it soft throughout.
Freezing: Not recommended once assembled with lettuce and tomato, both go watery after freezing and thawing. The cooked chicken alone freezes well for up to 2 months if you want to prep that part ahead.
Serving Suggestions and Variations
- Swap the chicken for shrimp or sliced steak using the same garlic seasoning and sauce.
- Add sautéed mushrooms or roasted red peppers to the filling for extra texture and flavor.
- Use pepper jack instead of mozzarella or cheddar for a spicier version.
- Skip the tortilla sear and serve everything over a bed of greens for a lower-carb, wrap-inspired salad instead.
Frequently Asked Questions
Can I make this with rotisserie chicken instead? Yes, shred about 3 cups of rotisserie chicken and toss it with the garlic, smoked paprika, onion powder, salt, and pepper in a hot pan for a few minutes to pick up the same flavor, skipping the full cook time needed for raw chicken.
Why did my wrap fall apart while searing? This usually means it wasn’t rolled tightly enough, or it was overfilled. Fold the sides in first and roll firmly from the bottom, and keep the filling generous but not overflowing.
Can I make these ahead for meal prep? Yes, cook and assemble the wraps without searing, then store in the fridge and sear fresh in a hot pan right before eating for the best texture.
Is there a way to make this without mayonnaise? Yes, use all Greek yogurt in place of the mayonnaise in the sauce. It’ll taste a bit tangier and lighter, but still comes together into a creamy, garlicky sauce.
